vi
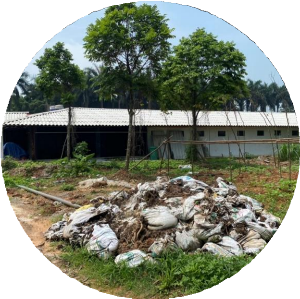
viIn recent years, in our country, the situation of livestock and poultry diseases has been very complicated, causing huge losses to the livestock industry… Therefore, cleaning the barn after each batch of breeding is very important and urgent, helping to control the epidemic, increase productivity and efficiency of breeding, and develop sustainably. This article will guide you through the standard barn cleaning process before importing a new batch of breeds.
1) Why is it necessary to thoroughly clean the barn before each new batch of breeding?
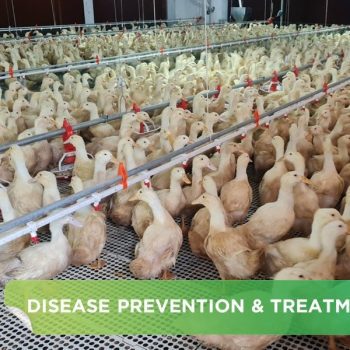
Although the previous batch of breeding animals was healthy and disease-free, there is still the possibility of undeveloped disease germs. Disinfection helps control epidemics, kill pathogens in the environment, prevent the spread of epidemics, and prevent the development of disease-causing bacteria. Disinfecting barns and livestock equipment helps increase livestock efficiency, develop sustainably, and limit epidemics.
After each breeding period, the barn and equipment must be cleaned and disinfected, and the barn must be left empty for at least 7 days before introducing new breeds. In case of an epidemic, if re-herding, the barn must be left empty for at least 30 days and must be approved by the local authorities. Equipment, tools and means used in breeding must be regularly disinfected.
This article will guide the standard barn cleaning process before introducing new breeds.
2) Detailed barn cleaning process
The 8-step process of cleaning and disinfecting the barn is carried out immediately after finishing a batch of ducks:
• Step 1: Clean the water pipes with Chloramine or organic acid
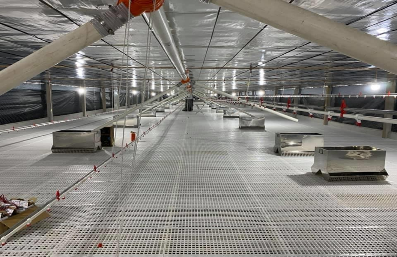
• Step 2: Mechanically clean the bedding, barn floor, and feeding/drinking troughs
• Step 3: Chemically clean the barn floor with soap or NaOH + lime
• Step 4: Use Focmalin 37% mixed with water in a ratio of 1:5 to spray the entire barn
• Step 5: Let the barn dry for 1-2 days (turn on the exhaust fan for a closed barn)
• Step 6: Arrange the brooding pen and tools, spray the disinfectant then on the ducks
• Step 7: Incubate the barn for about 2 to 3 days
• Step 8: Fumigate the barn with Focmalin and KMNO4
Detailed instructions for each step of barn cleaning:
Step 1: Soak the water pipes with Chloramine B, T or Organic Acid for a period of time 2 days later use high pressure pump to push all the residue out of the pipe.

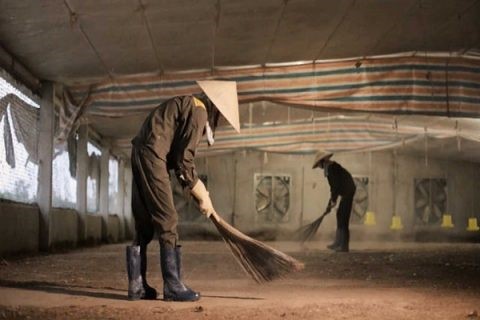
Step 2: Mechanical cleaning
1. Clean up manure and dismantle livestock equipment
• Clean up all manure and waste in the barn
• Remove all equipment (floor) to wash and soak
• disinfectant
• Remove leftover food in the feeder
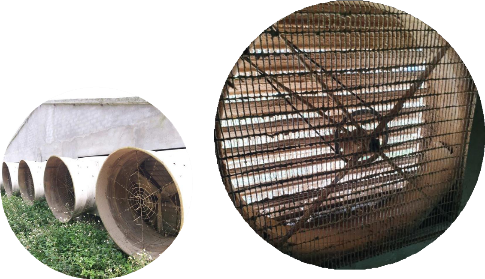
2. Clean livestock equipment
• Sweep away dust and dirt from equipment and ceilings
• Equipment such as fans that cannot be
• disassembled and disinfected should be
• wiped clean and wiped again with a cloth dipped in disinfectant
3. Handling of manure and waste in livestock farming
• Manure and waste in livestock farming must be collected to the manure and waste treatment area
• Or removed from the livestock farming area
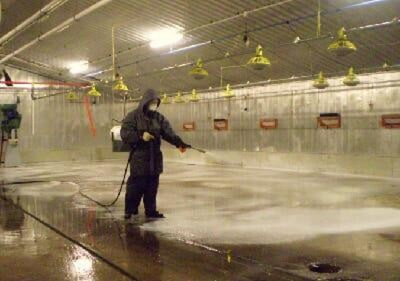
4. Clean the barn floor with a pressure washer then scrub with soap: Make sure the floor cleaning water is collected in a treatment pit and not allowed to overflow in the farm area.

Step 3: Chemical cleaning
1. Use soap to clean the floor of the cage, or use lime water to sprinkle on the floor of the cage
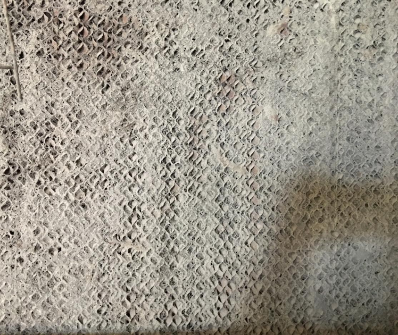
2. Disinfect the cooling pad system
• Cooling Pad system after rearing with lime water
• Spray with pressure pump to remove moss, mold and plaque
• Replace damaged Cooling Pads.
• Use disinfectant to run the entire system then let it dry.
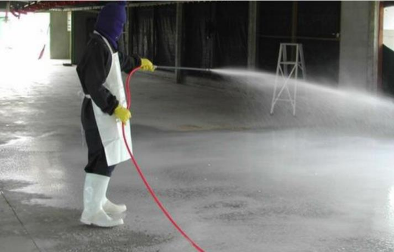
Step 4: Spray the barn with formalin
Use formalin at a concentration of 37% mixed with water in a ratio of 1:5 and spray the entire barn
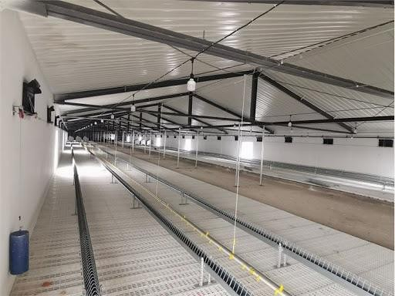
Step 5: Let the barn dry
Dry the barn for 1-2 days to ensure the most effective disinfection process
For barns with closed barn designs, the exhaust fan should be turned on during this time
Step 6: fumigate the cage with formalin and KMnO4
After 1 to 2 days the cage is completely dry, fumigate the cage with formalin or potassium permanganate.

Step 7: Incubate the barn
After fumigating the barn with formalin or potassium permanganate, seal the barn to begin the incubation process
The incubation period can last from 2 to 3 days depending on the barn
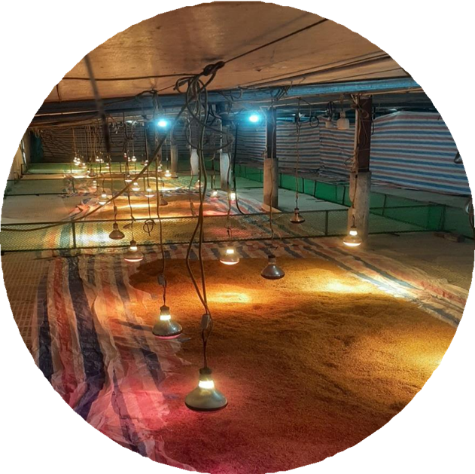
Step 8: Arrange the farm to prepare for ducks
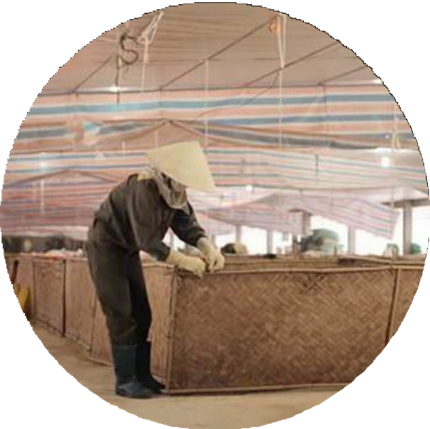
1. Arrange the brooding pens and tools before the ducks arrive at the farm
• Prepare the brooding pens: brooding pens, surrounding tarpaulins, mesh lining for the brooding cells,
• 5-7cm thick bamboo
• A 40m2 brooding pen for 1000 ducks
• A thermometer for each cell
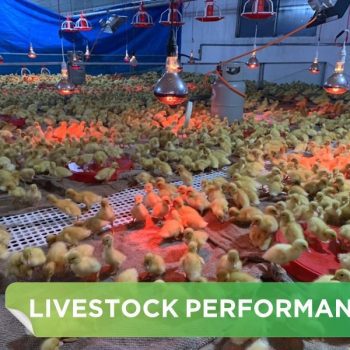
• Full brooding shade to ensure a temperature of 32 – 330C when the ducks arrive
• Sugar and supplements
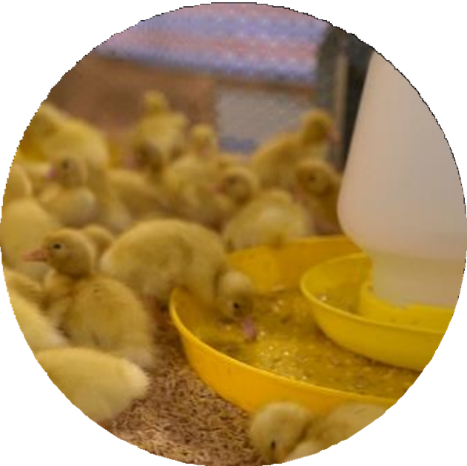
2. Prepare feeding trays and drinking troughs for ducks according to the following standards:
• Feeding tray: 50 – 60 ducks/tray
• Automatic feeding trough 3cm round/duck, trough 170 – 200 ducks long depending on trough size. Do not use troughs that are too long so that ducks have to move far to the trough)
• 4 liter gallon trough: 50 – 60 ducks/trough.
• Bell drinking trough: 50 – 60 ducks/trough
• Drinking nipples: 6 – 8 ducks/nipple
3. Check the farm equipment:
• Check feeding trays, troughs
• Check drinking troughs
• Check heating equipment
• Check bedding, partitions, tarpaulins
• Check medicines
• Check protective gear: clothes, boots, etc.
Conclusion: In recent years, in our country, the situation of livestock and poultry diseases has been very complicated, causing huge losses to the livestock industry… Therefore, cleaning the barn after each raising period is very important and urgent because it helps control the epidemic, increase productivity and efficiency of livestock farming, making livestock farming develop sustainably. Cleaning and disinfection activities must include all areas inside and outside the barn, including the food storage area and all livestock farming tools.


 25-Jan-2026